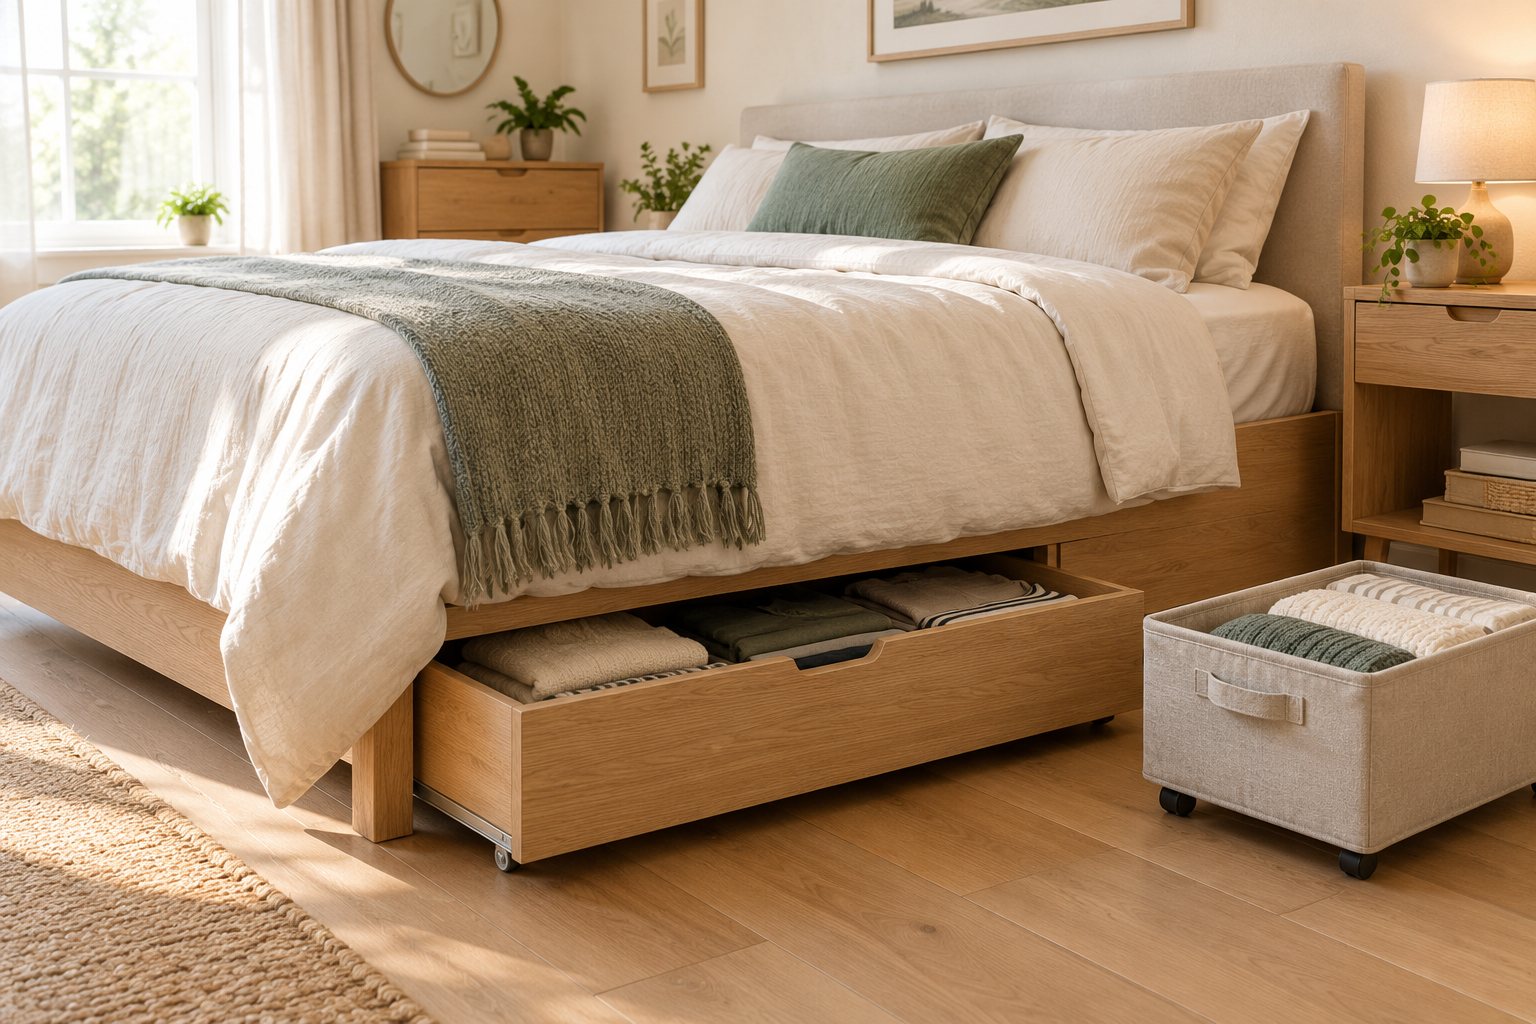
A queen bed leaves a large, unused rectangle underneath. Whether it is useful depends on one number: the clearance between the floor and the lowest part of the frame. This guide shows how to measure it, choose between rolling bins and DIY drawers, and avoid the mistakes that make under-bed storage fail.
You need a tape measure and paper. For drawers you also need basic tools and a free weekend.
Step 1: Measure the Clearance (A)
Measure from the floor to the lowest part of the bed frame, at several points. Low platform beds can leave only a few inches, while frames on legs can leave much more. Also measure the width and length of the open space and the space around the bed, because drawers need room to pull out.
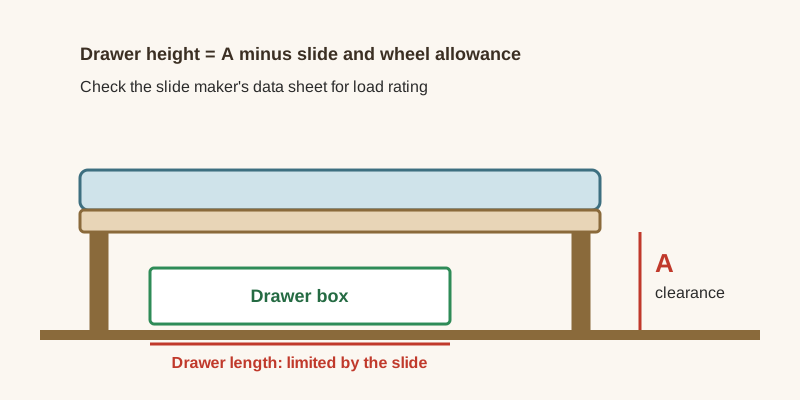
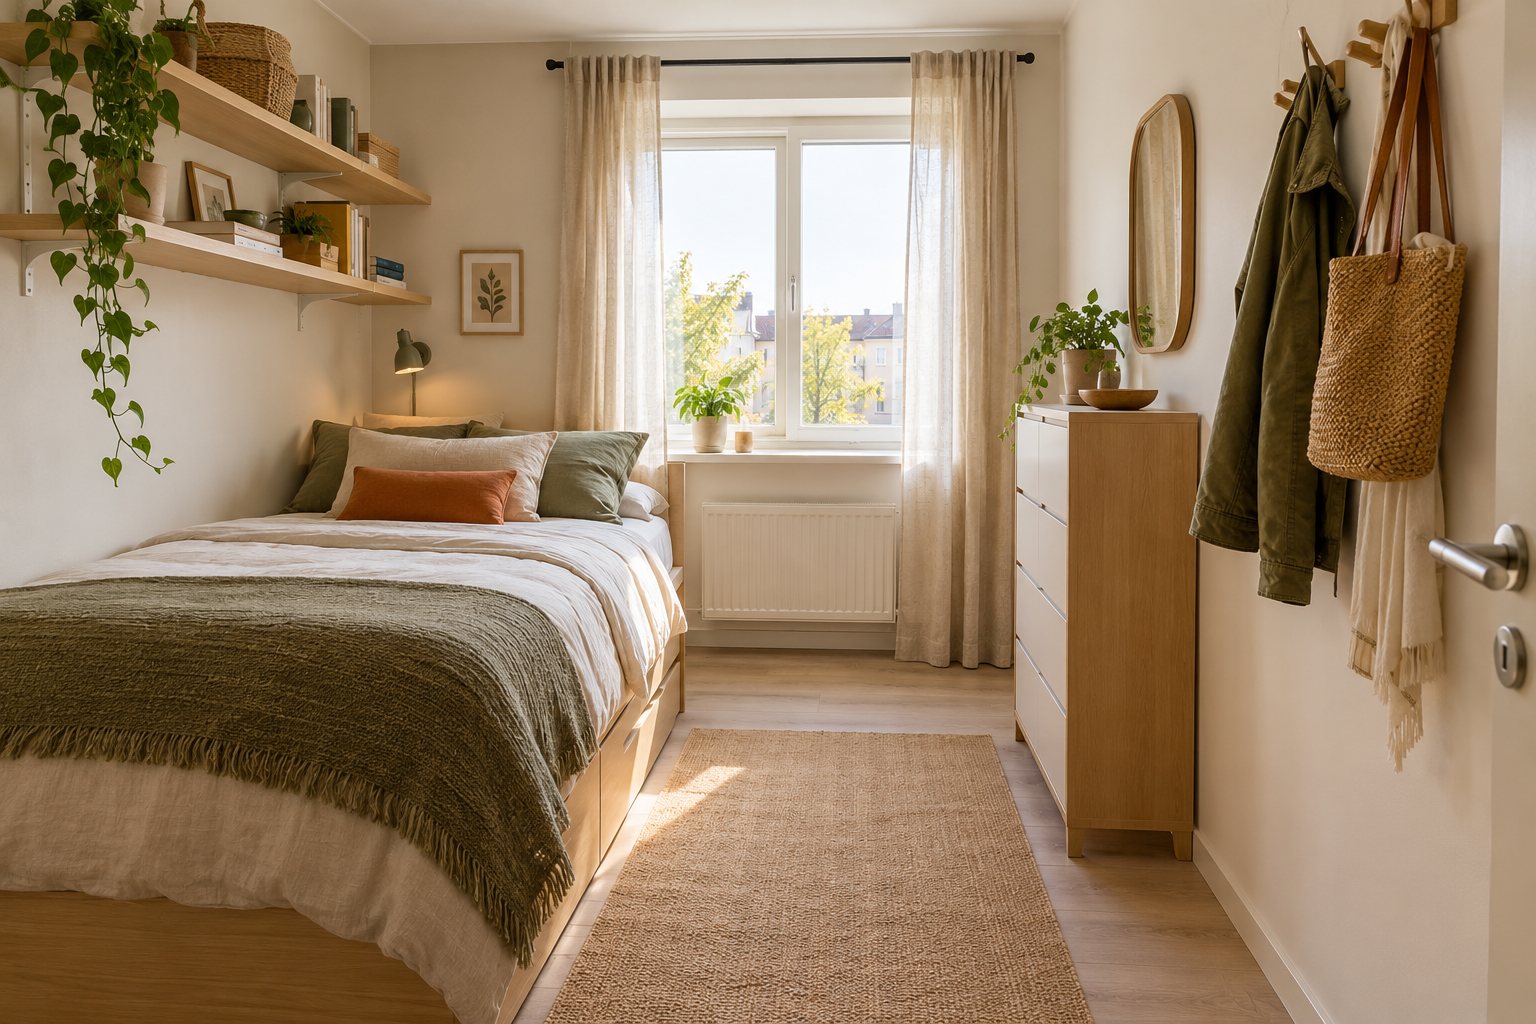
If A is very low, use flat bins or skip under-bed storage and use the wall instead, as in the floor-first bedroom plan .
Step 2: Choose the System
| Option | Best when | Watch out for |
|---|---|---|
| Rolling bins | Clearance is moderate and you want no tools | Wheels that catch on thick carpet; bins taller than A |
| Pull-out drawers on slides | You can build and want a tidy front | Slide load rating and the room to pull drawers open |
| Fabric or plastic bins without wheels | Items are rarely accessed | Heavy bins are hard to drag out |
Whatever you choose, make the container a little shorter than A, so it slides without catching.
Step 3: Plan the Layout
Drawers usually pull out toward the foot or sides of the bed. Leave the center for the frame support, and check you have room to pull each drawer fully open.
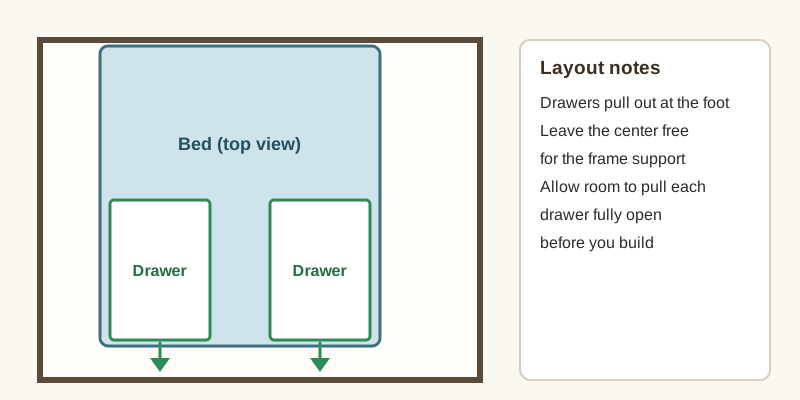
Mark the positions with tape on the floor and test that you can open each one with the bedroom door closed. Check also that a person can still step out of bed on that side, and that cords from lamps and chargers are not caught under a drawer.
Step 4: Build Simple Drawers (If You Choose To)
- Plan the box. Make the drawer box a little narrower and shorter than the open space, and lower than A minus the slide or wheel allowance.
- Pick slides rated for the load. Check the slide maker’s data sheet for the rated load per pair and the clearance they need on each side, and do not guess.
- Cut and assemble. Use plywood, glue and screws, and square the box before the glue sets.
- Mount the slides. Follow the maker’s instructions for spacing, and test with an empty drawer first.
- Finish. Seal or paint if you wish, with windows open and following the product label.
- Test. Load the drawer with its real contents and open and close it ten times.
Do not cut or weaken the bed frame. Build around it.
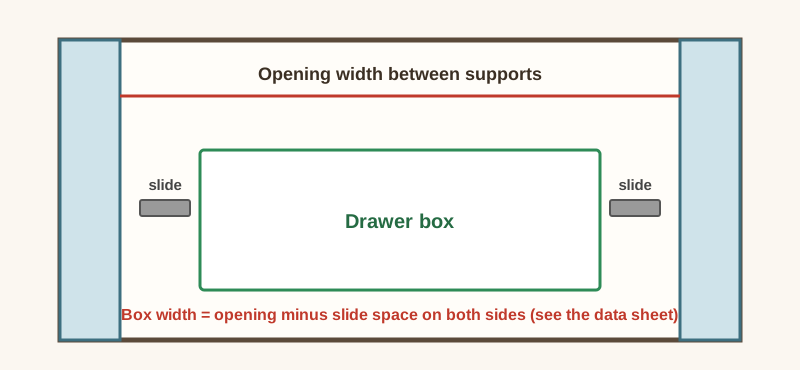
The most common build error is making the box as wide as the opening. Slides need space on both sides, and the amount depends on the model, so read the data sheet before cutting any wood.
Step 5: Add Rolling Bins
Rolling bins give you flexibility without building. Choose low bins with wheels that fit your floor type, and label the end that faces you. Keep a pull handle or cord on the front so you can retrieve them without crawling.
Step 6: Decide What Goes Under the Bed
Under-bed storage works for items you need a few times a year or in a weekly rotation: off-season clothes, spare bedding, shoes and luggage. It fails for anything daily, because digging under a bed every morning is a habit that does not last. Keep nightly items on a bedside shelf or hook.
Tools and Time
For a simple two-drawer build, you need a tape measure, a pencil, a square, a saw (or have the store cut the plywood for you), a drill and driver, clamps, sandpaper and a pair of safety glasses. Expect a weekend: one session to measure and cut, one to assemble, mount and test. Buy the slides first, because their dimensions decide the rest of the box. If you do not own the tools, rolling bins are the sensible choice for a first attempt.
Safety Details
- Do not store anything flammable or heavy near the head of the bed.
- Ventilate when finishing wood. Paints and varnishes release organic compounds, and the U.S. EPA advises increasing ventilation when using them.
- Keep the path to the door clear. Pulled-out drawers should not block the route from bed to door, and smoke alarms should stay uncovered.
Where DIY Under-Bed Drawers Go Wrong
- Cutting the box to the full opening width and leaving no room for the slides.
- Choosing slides by price instead of by the rated load for the drawer’s contents.
- Building tall drawers that catch the frame rail when pulled out.
- Placing drawers where the bedroom door or a dresser blocks them from opening.
- Filling a drawer with books or heavy tools that the slides were never rated for.
When Drawers Are Not Worth It
If A is only a few inches, or the room is too tight to pull drawers out, do not force the project. Use wall storage or a narrow tall unit anchored to the wall instead. Under-bed drawers do not work in every room, and a rolling bin often does the same job for much less effort.
Try This Tonight
Measure A at three points and write it down. Take a bin or box one size smaller than that and push it under the bed. If it catches, you have saved yourself a weekend of building the wrong thing.
Frequently Asked Questions
What should go in a DIY pull-out bedroom drawer?
Items you use occasionally, such as shoes, folded clothes or spare bedding. Keep nightly items elsewhere.
How much clearance do I need?
Measure from the floor to the lowest part of the frame. Your drawer must be lower than that minus the slide or wheel allowance.
Should I build drawers or buy rolling bins?
If clearance is low or you want no tools, buy shallow bins sized to the measurement. Build drawers only with slides rated for the load.
Is it safe to modify the bed frame?
Do not cut or weaken the frame. Build around it.
Do I need ventilation when finishing wood?
Yes. Open windows and follow the product label.
Sources
- U.S. EPA, Volatile Organic Compounds’ Impact on Indoor Air Quality : paints and varnishes release organic compounds; increase ventilation when using them
Related Guides
- Under-Bed Storage for a Small Bedroom: A Measured 48-Inch Clearance
- Small Bedroom Organization: A Floor-First Plan
- Small Closet Organization Ideas
The diagrams and the cover in this guide are original illustrations drawn for this article. Measurements are examples; measure your own space.