A 350-square-foot studio can feel crowded even when you own relatively little. The problem is usually the order: furniture goes in first, and the walking route is whatever is left. Clothes end up on chairs, the table becomes a shelf and the way to the window turns into an obstacle course.
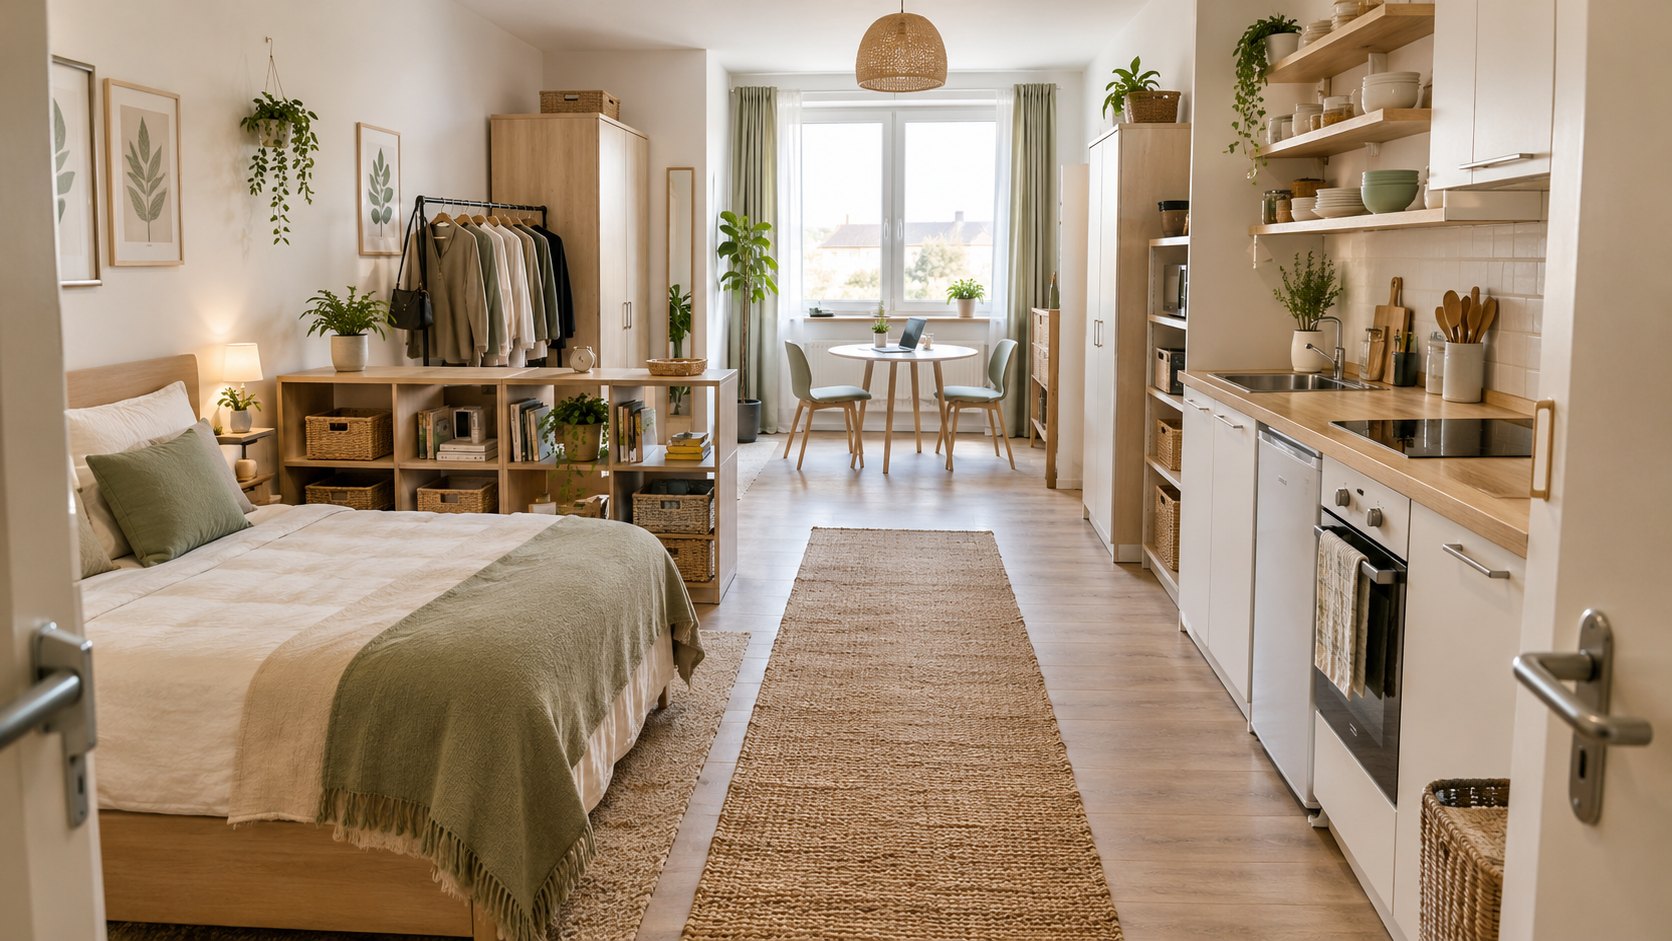
This guide reverses the order. Draw the main path first, place five zones around it, then add storage only where it solves a specific problem. The cover photo shows the result: a clear runner from the door to the window, a low shelf dividing the bed area, a clothing rack and wardrobe, a kitchen run on one wall and a small table by the light.
1. Draw the Main Path First
A 350-square-foot studio is about 14 by 25 feet in the example below. Mark where the entrance, windows, bathroom door, radiators and outlets are, then tape a path from the entrance to the window.
How wide should it be? The ADA Standards set 36 inches as the minimum clear width of walking surfaces, and allow 32 inches only for a short pinch point of up to 24 inches. The NKBA also recommends a walkway of at least 36 inches in kitchens. Neither rule applies to your own studio, but 36 inches is a sensible benchmark, wide enough to pass a laundry basket without turning sideways.
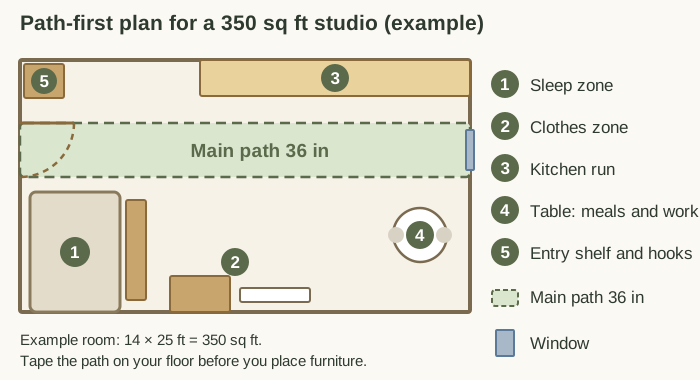
Live with the tape for a day. If you keep stepping off it, the path is in the wrong place.
2. Place Five Zones Around the Path
Every studio needs the same five jobs done, whatever its shape:
- Sleep zone: the bed and the bedside, away from the entrance sightline if you can.
- Clothes zone: one rack, one wardrobe or shelf, and a few hooks.
- Kitchen run: cabinets, counter and the stove along one wall.
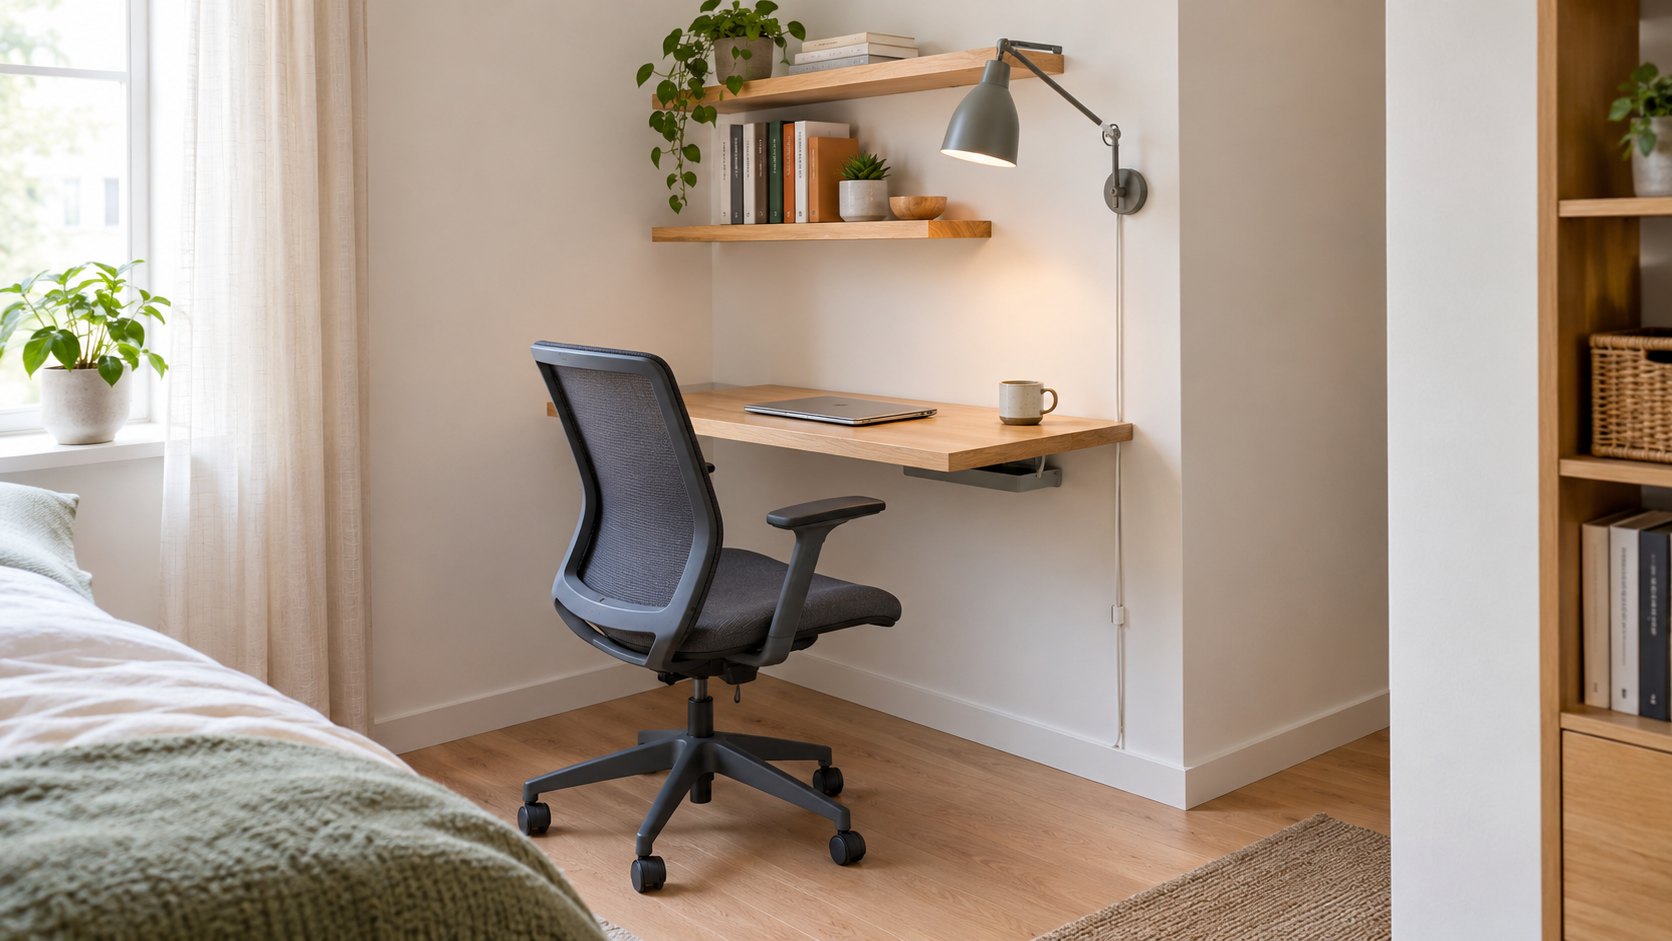
- Table: meals and work in the same place, near the window.
- Entry shelf: keys, mail, shoes and a bag.
Put the noisy and messy zones, the kitchen and the entry, near the door, and the quiet ones, sleep and work, further in. Give each zone a footprint on the tape before you buy anything.
3. Check Widths Before You Buy
Use three numbers as limits for any piece of furniture:
- 36 inches: the main path, as above.
- 42 inches: the kitchen work aisle. The NKBA recommends at least 42 inches for one cook and 48 inches for more than one, measured between counter fronts, tall cabinets and appliances.
- 32 inches: the NKBA recommends this much clearance from the table edge to any wall or obstruction behind the seating area.
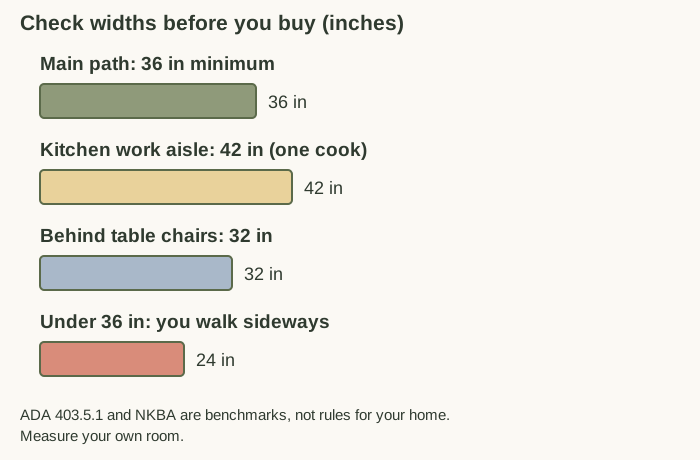
If a cabinet or table would reduce one of these widths, choose a shallower one or place it elsewhere.
4. Divide the Sleep Zone Without Walling It Off
A wall is not needed. A low open shelf, a rack or a curtain separates the bed from the living area while keeping light moving, as in the cover photo.
- Prefer low dividers. A low unit keeps the window light reaching the bed.
- Make the divider useful. An open shelf can hold baskets for linens and books.
- Check the bed side. Leave space to get in and out, and keep the divider from touching the path.
- Use under-bed bins. Flat bins for seasonal bedding. See our small bedroom guide for the measuring and our DIY under-bed drawers guide for a build.
5. Build One Clothes Zone
If your studio has no built-in closet, give clothing one clearly defined place rather than scattering it.
- A freestanding rack for the clothes you wear weekly.
- A narrow wardrobe or shelf for folded sweaters and shoes.
- A row of hooks for bags, belts and hats.
- The top of the wardrobe for seasonal items in labeled boxes.
Tall furniture needs securing. Salud America, summarizing the CPSC’s Anchor It! campaign, advises securing top-heavy furniture with anti-tip brackets and keeping tempting items off the top. In a rental, ask your landlord first. For a no-drill setup, see our renter closet guide .
6. Make the Kitchen and Table Work Together
In a studio, the kitchen and the table often share the same floor. Keep the kitchen run along one wall, check the 42 inch aisle, and use open shelves for daily plates, mugs and jars so you can see what you have. Overflow, such as dry goods, can go in a tall cabinet or slim shelf, as in our guide to kitchens without a pantry .
A small round table can serve as dining table and desk. Clear it at the end of the day so it does not become a shelf, and keep the laptop, charger and notebook in one basket.
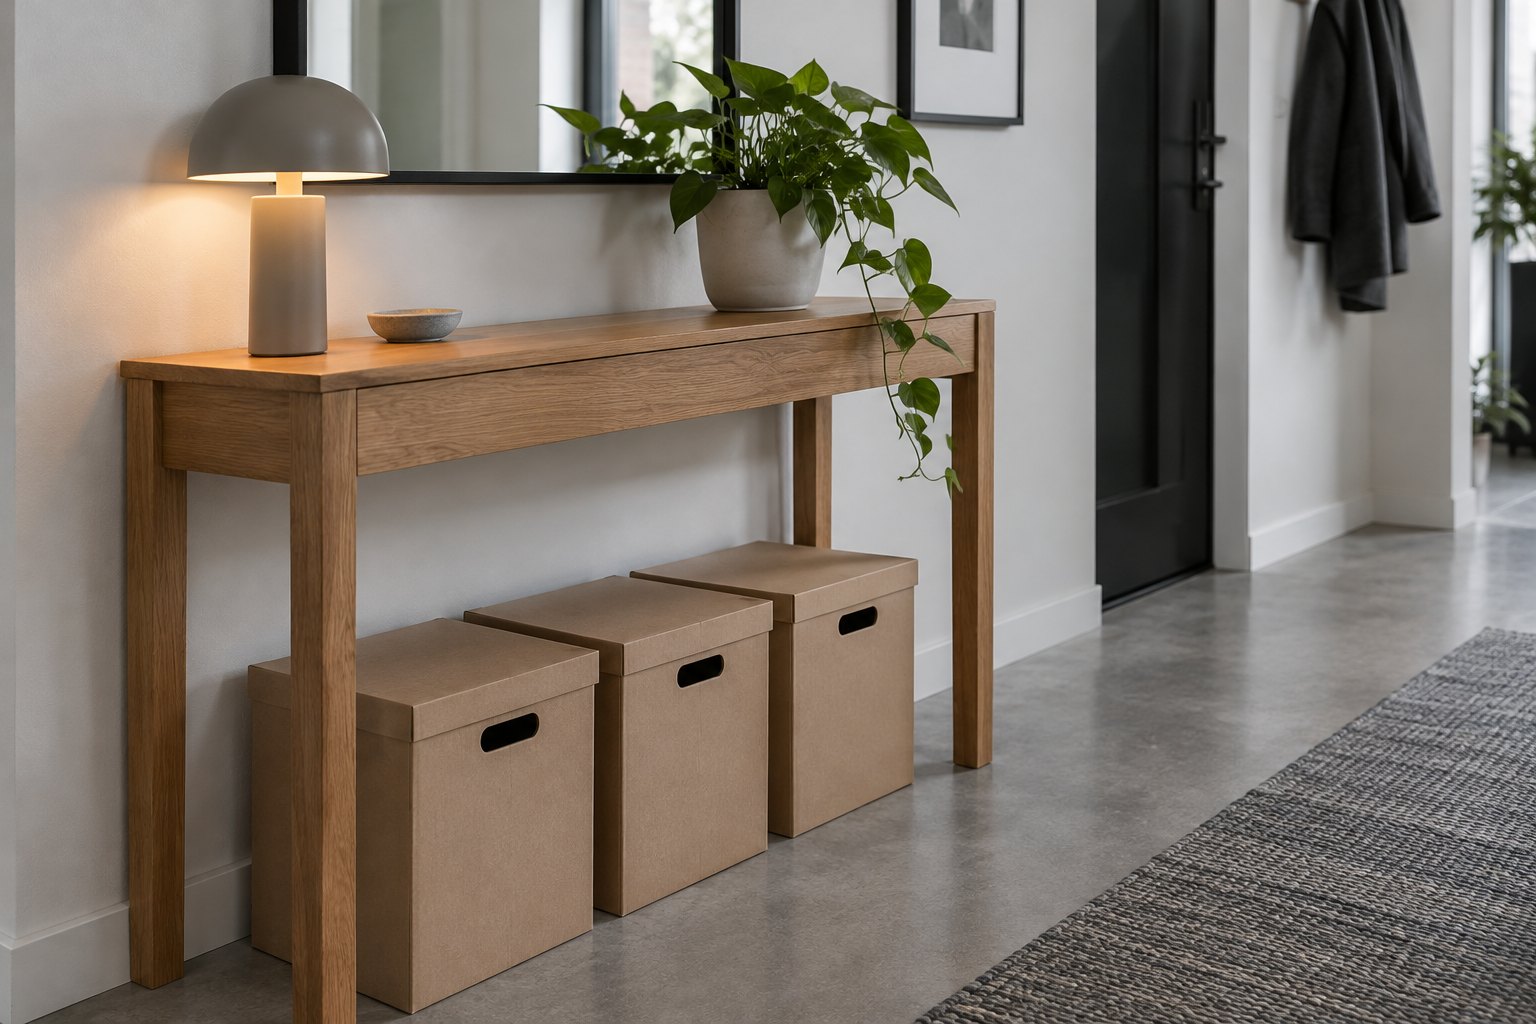
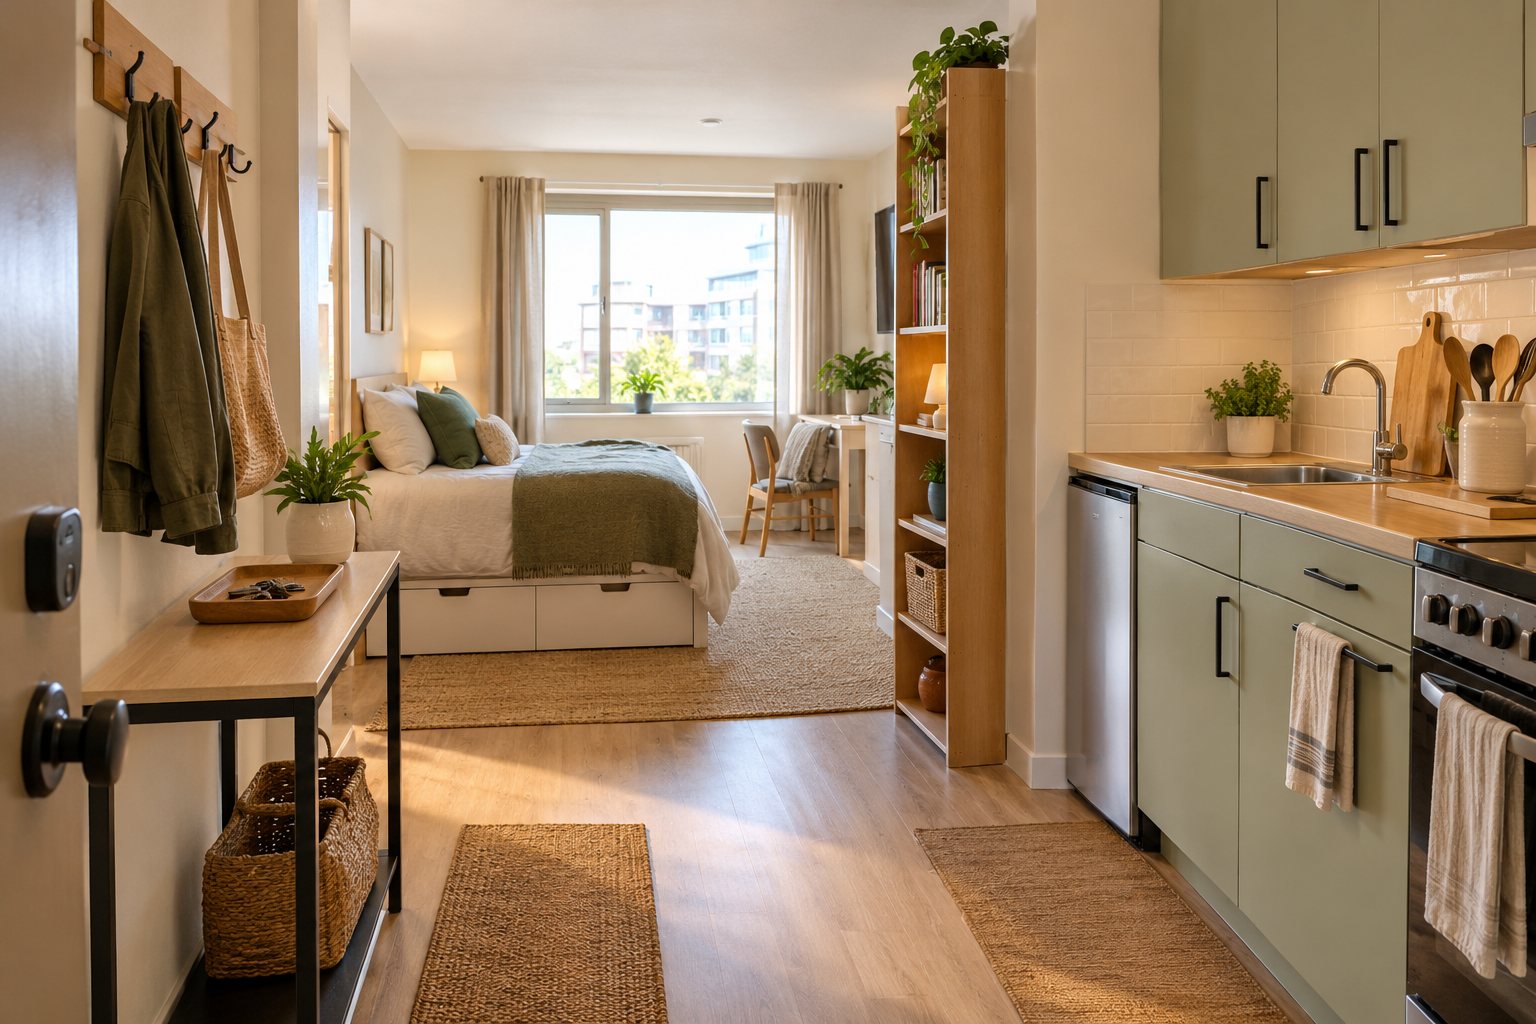
7. Give the Entrance a Small Drop Zone
A few hooks and a shelf near the door stop coats and bags spreading into the room. The ADA Standards describe an unobstructed forward reach of 15 to 48 inches above the floor, a handy band for hook heights. Our narrow entryway guide shows a small drop zone in detail.
8. Store by How Often You Use Things
Sort what you own into three groups and put each where it matches.
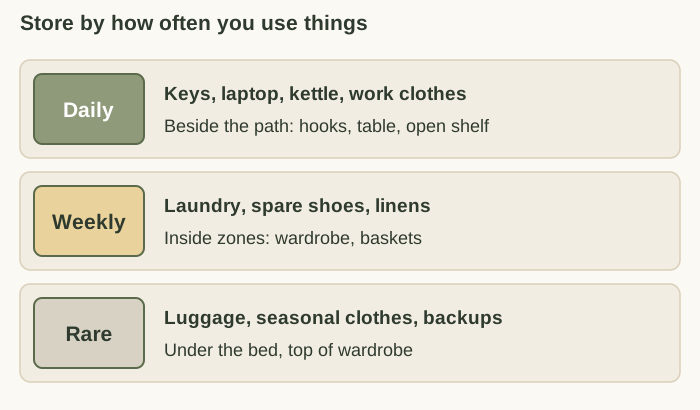
- Daily: keys, laptop, kettle and work clothes live beside the path, on hooks, the table or an open shelf.
- Weekly: laundry, spare shoes and linens live inside zones, in the wardrobe or in baskets.
- Rare: luggage, seasonal clothes and backups go under the bed or on top of the wardrobe.
Edit first. Be strict with duplicates, such as five similar tote bags or three spare sets of sheets. A useful test is whether you would look for a place for the item if it were not already in the apartment.
9. Choose Furniture That Earns Its Footprint
Every piece in a studio should do at least one extra job:
- A bench with storage inside, near the door.
- A table that folds or extends when guests come.
- A bed frame with a clear underside for flat bins.
- A shelf that also divides a zone.
Avoid pieces that only look good, such as an oversized armchair that narrows the path.
10. A 10-Minute Reset
Once a day, or at least before bed, reset the room: clear the table, return clothes to the rack or wardrobe, put the keys and bag in the entry zone, and check that the path is still clear. A short reset keeps the studio from drifting back.
11. Mistakes to Avoid
- Placing furniture first. The path becomes whatever is left.
- Buying storage before editing. Containers do not replace decisions.
- Blocking the window. A tall unit in front of the window makes the room darker and smaller.
- Leaving tall furniture unsecured. A loaded wardrobe can tip.
- Mixing zones. Work papers on the bed and clothes on the table make both zones fail.
12. A Weekend Plan
On Saturday, tape the main path and the zones, measure the three widths and list what you own by frequency. On Sunday, move furniture to fit the tape, edit the items that do not belong and give every remaining item a zone. Live with it for a week before buying anything new.
Frequently Asked Questions
How wide should the main path in a studio be?
Aim for at least 36 inches. The ADA Standards set 36 inches as the minimum clear width of walking surfaces, and the NKBA recommends a walkway of at least 36 inches. Neither is a rule for your own home, but 36 inches is a comfortable benchmark to tape on the floor.
How do I organize a 350-square-foot studio with no closet?
Give clothing one zone: a freestanding rack for everyday pieces, a narrow wardrobe or shelf for folded items, and a few hooks. Put seasonal items under the bed or on top of the wardrobe. Anchor the tall piece to the wall, with your landlord’s permission.
How can I separate sleeping from living without building a wall?
Use a low open shelf, a curtain or a rack as a soft divider, and keep the path clear. A low unit keeps window light moving through the room, while a tall unit blocks it and is a tip-over risk unless anchored.
How much space do I need in the kitchen aisle?
The NKBA recommends a work aisle of at least 42 inches for one cook and at least 48 inches for more than one, measured between counter fronts, tall cabinets and appliances. In a studio the main path can double as the aisle if you keep it clear.
Is vertical storage safe in a small apartment?
It is safe when tall furniture is secured. Salud America, summarizing the CPSC’s Anchor It! campaign, advises securing top-heavy furniture with anti-tip brackets. In a rental, ask your landlord first, because anchors leave small holes.
What should I organize first in a studio?
Tape the main path, then place the zones around it, and only then edit and buy storage. Doing it in that order stops you buying furniture that blocks the way.
Related Guides
For the rest of a small apartment, see our guide to small apartment storage ideas , kitchen zones and aisles and the renter closet guide .
Sources
- US Access Board, ADA Standards for Accessible Design : 36 inch minimum clear width of walking surfaces (403.5.1), with a 32 inch pinch point of up to 24 inches.
- NKBA, Kitchen Planning Guidelines (PDF) : a walkway of at least 36 inches, a work aisle of at least 42 inches for one cook and 48 inches for several, and 32 inches behind seating.
- US Access Board, ADA Chapter 3: Operable Parts : the 15 to 48 inch unobstructed forward reach range.
- Salud America, Anchor It: Protect Kids from Dangerous Furniture Tip-Overs : a summary of the CPSC Anchor It! campaign, with anti-tip brackets and removing tempting items from furniture.
The diagrams are original illustrations made for this guide. The room size and furniture sizes are planning examples, so measure your own studio and follow the manufacturer’s instructions for furniture and anchors.
Image Credits
- Cover: AI-generated image via ChatGPT, October 2026.